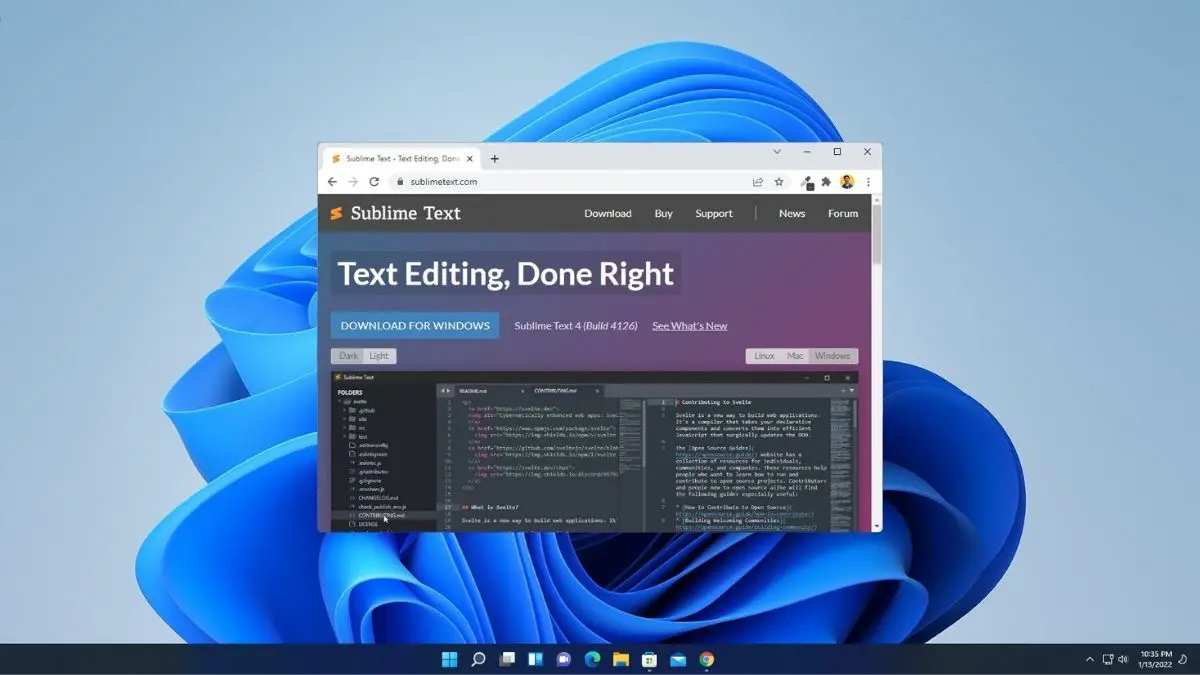
Sublime Text is a cross-platform source code editor. You can also use Sublime Text as a normal text editor to write down some notes. With the help of Sublime Text, you can edit any source code and even you can use it to write your source code. It supports many programming languages and markup languages, additional features can be added with the help of a plugin.
Today here in this article, we are going to learn how you can download and install Sublime Text 4 on Windows 11. Also going to discuss what’s new in Sublime Text 4. So read this complete article for a better understanding.
What’s New in Sublime Text 4
Sublime Text 4 is the latest version of Sublime, build number 3211, and the latest released date is May 21, 2021. Here you can check some of the changelogs
- Mac: Added Notarization
- Fixed a performance regression when moving the caret upwards in large files
- Fixed a memory leak
- Git: Fixed including handling in git config files not interpreting ~ relative paths correctly
- Fixed not being able to swap lines down with the last line if it was empty
How to Download and Install Sublime Text 4
Here are the steps to download and install Sublime Text 4 on Windows 11. Follow these simple steps to download and install it for free.
1. Open any browser and search for Sublime Text
2. Open the link from sublimetext.com and click on Download from the menu. After that select your operating system.
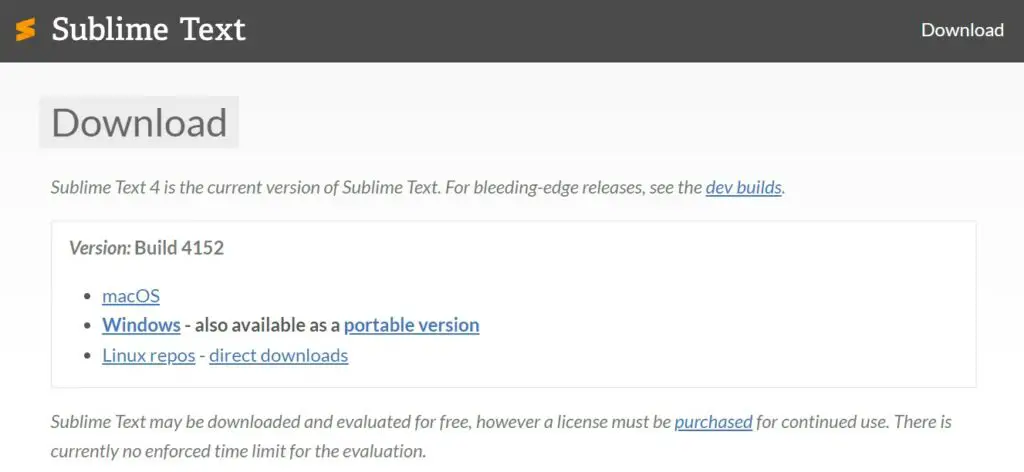
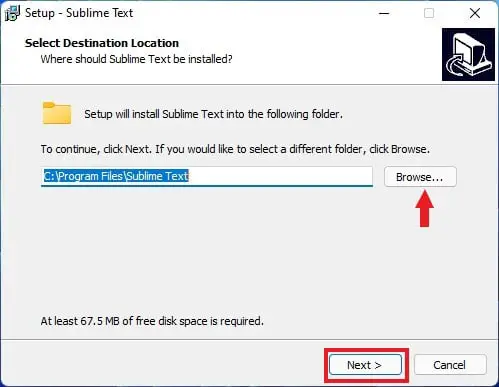
3. After the download has been completed open the downloaded file. Then select the destination location, where you want to install Sublime Text. If you want you can keep it default and click on the Next button to continue.
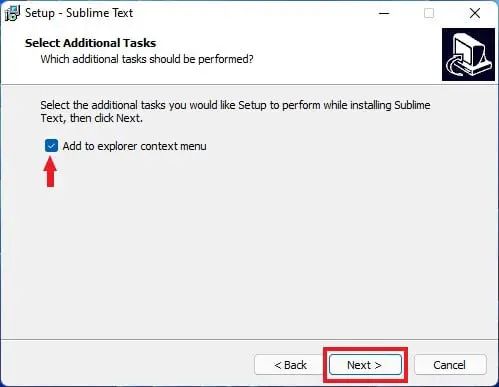
4. After that, a new window will appear. If you want, you can add it to the ‘Explorer context menu,’ then check the box, and finally, click Next.
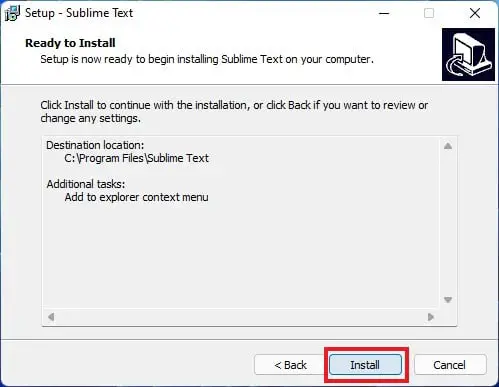
5. Now click on the Install button to install Sublime Text 4 on Windows 11 for free.
6. Wait until the installation process is complete and then click on Finish.
That’s it! This is how you can download and install Sublime Text on your Windows operating system. Now you are ready to use Sublime Text 4.
How to Create a Desktop Shortcut for Sublime Text
When you install Sublime Text, it won’t create a desktop shortcut, but don’t worry, here is how you can create one for easy access. Just follow these steps.
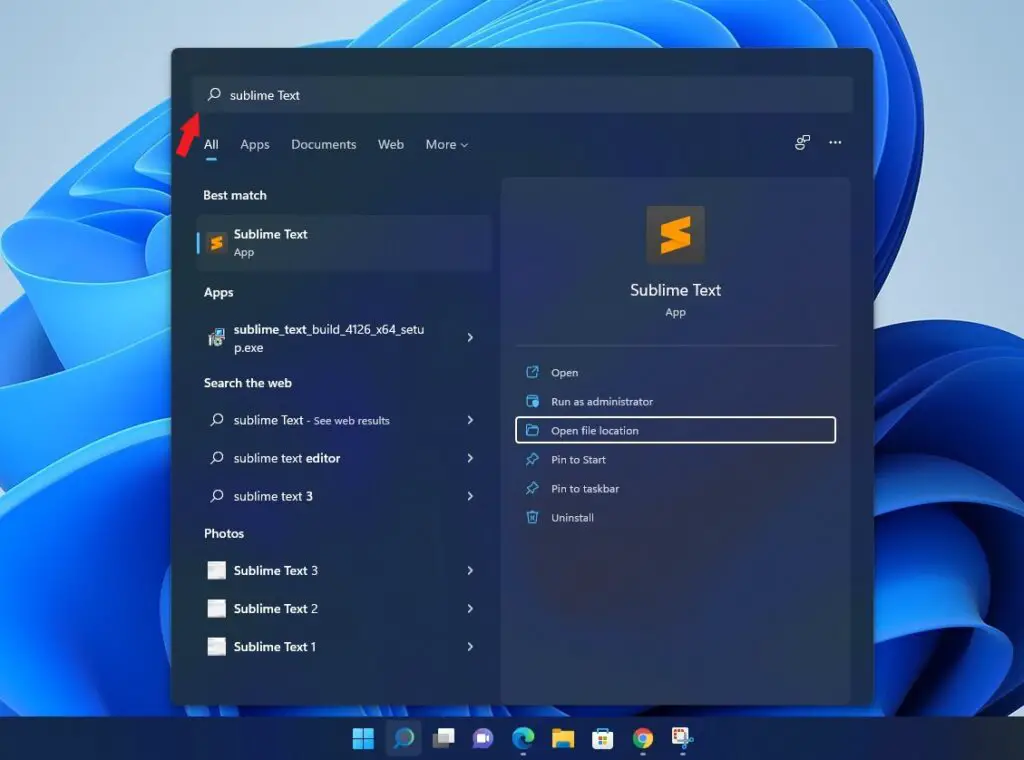
1. First, search for Sublime Text 4 in the Windows search bar.
2. Now on the right-hand side pane, you will find Open File Location, click on it.
Note
You can also pin the Sublime Text 4 shortcut on the taskbar. To do so, click on the Pin to taskbar option.
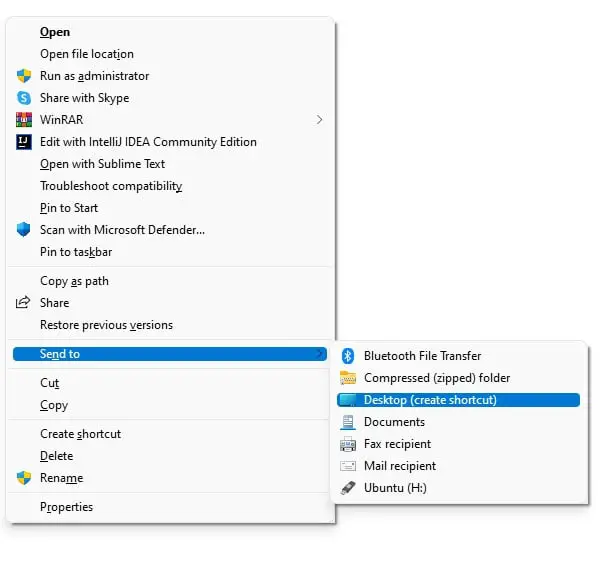
3. Select Sublime Text 4 and right-click on it and from the menu click on Show More Properties. Now hover your mouse over the Send to option and click on the Desktop (Create Shortcut) option.
Conclusion
As you embark on your journey with Sublime Text 4, you’ll discover its powerful features and customization options that can significantly boost your coding productivity. From its lightning-fast performance to its extensive plugin support, Sublime Text has become a beloved choice among developers worldwide.
