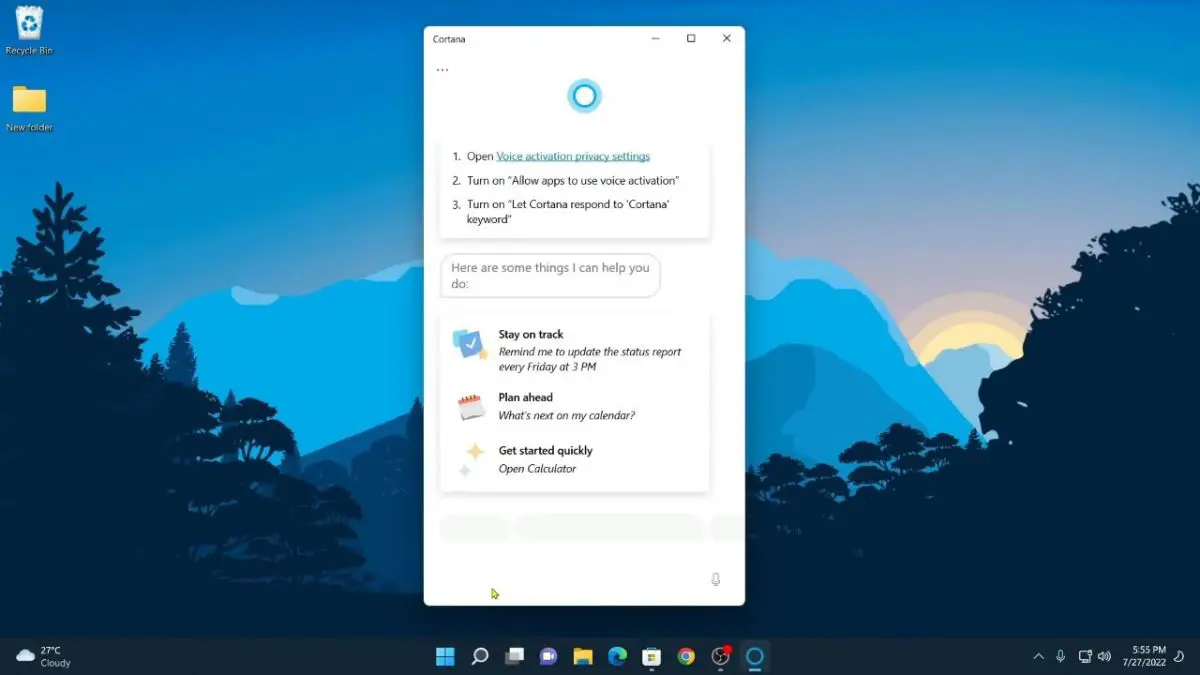
Windows 11, the latest version of Microsoft’s iconic operating system, comes packed with numerous features and improvements designed to enhance user experience and productivity. One of the most notable features is Cortana, Microsoft’s virtual assistant.
Cortana can help you perform a wide range of tasks, from setting reminders and managing your calendar to searching the web and controlling your smart home devices. In this blog, we’ll guide you on how to enable Cortana in Windows 11 so that you can take advantage of its powerful capabilities.
What is Cortana on Windows?
Cortana is a virtual assistant developed by Microsoft, similar to Google Assistant. It was first introduced with Windows Phone 8.1 and later integrated into Windows 10 and subsequent versions, including Windows 11.
It operates similarly to Google Assistant. Cortana serves as the default virtual assistant for Windows operating systems, allowing users to control their Windows systems using voice commands.
Cortana is designed to assist users with a wide range of tasks and functions, using voice commands or typed queries. Its functionalities include searching the web, setting reminders on the calendar, smart home integration, and more.
How to Enable Cortana in Windows 11
On Windows 10 and Windows 11, Cortana comes pre-installed on your system. If Cortana is not present on your device, you can install it from the Microsoft Store. Once installed, you can enable it on your Windows 11 operating system.
If you prefer a video tutorial, you can watch the video mentioned below:
Or, follow the below steps to install and enable Cortana:
1. If Cortana is not there on your device, install it from the Microsoft Store. For that, open the Microsoft Store, search for Cortana, and install it.

2. Once you have installed Cortana on your device, you can search for Cortana on the Search option and open it.

3. Now, you will get the Cortana application.
4. Here, you need to sign in with your Microsoft account. For that, click on Sing In and continue with our Microsoft account.

5. To use Cortana, it needs access to some of your personal information and microphone permission. Before you continue, read the Microsoft privacy statement and then click on Accept and continue. If you don’t accept the privacy statement, you can click on the Decline and Sing Out option.

6. After that, you are ready to use Cortana on your device. If you want to use your device hands-free, turn on voice activation. For that, click on the Voice activation privacy settings.

7. It will open the voice activation settings. If you don’t get the option, go to Settings > Privacy & Security > Voice activation. Here, turn on Let apps access voice activation services and Cortana.
8. After that, you can use Cortana by saying Cortana or Hey Cortana.
Note
Cortana will always have your microphone access. Whenever you say similar sounding words like Cortana and hey Cortana. It will get activated and listen to your voice. If you don’t want to give access to the microphone, you can turn off the voice activation option.

9. After that, you are all done. Now, you can use Cortana on your Windows 11. If you want, you can pin it to the taskbar for easier access.

Conclusion
Cortana is one of the most helpful apps offered by Microsoft. Also, it helps you manage your calendar, schedule your work, and set reminders and alarms. It tracks your usage and makes you productive. However, if you are not irritated with the annoying Cortana pop-up, you can disable it. Check out our detailed guide on; how to disable Cortana on Windows 11.


