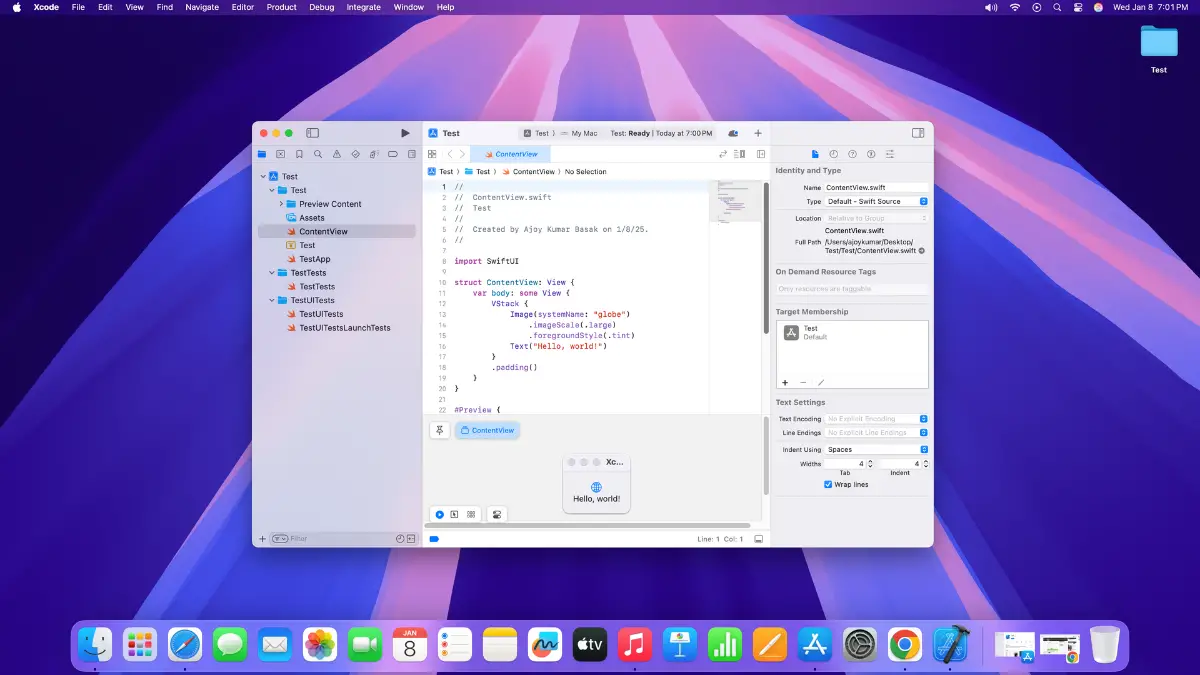
Xcode is Apple’s official Integrated Development Environment (IDE) for macOS, enabling developers to create apps for iOS, macOS, watchOS, and tvOS. Whether you’re an aspiring iOS developer or simply interested in exploring Swift programming, installing Xcode is a crucial first step. In this guide, we’ll take you through the process of downloading, installing, and setting up Xcode on your Mac to start developing apps for Apple devices.
Before proceeding with the installation, make sure your Mac meets the minimum system requirements. These requirements can vary slightly depending on the Xcode version, so it’s always wise to check Apple’s official documentation for the latest information.
How to Install Xcode on macOS
If you’re planning to develop applications for Apple devices such as macOS, iOS, or iPadOS, Xcode is the integrated development environment (IDE) you need.
To begin, open the Apple App Store. If the App Store isn’t visible in your Dock, don’t worry. You can easily find it in Launchpad.
Here are the steps to install Xcode on Mac:
1. Press Command + Space to open Spotlight.
2. Type Apple App Store in the search bar and hit Enter.
3. Once it appears in the search results, click on it to open.
4. When the App Store opens, navigate to the search bar at the top of the window, type Xcode, and press Enter.
5. In the search results, you should see Xcode listed. Select it from the results.
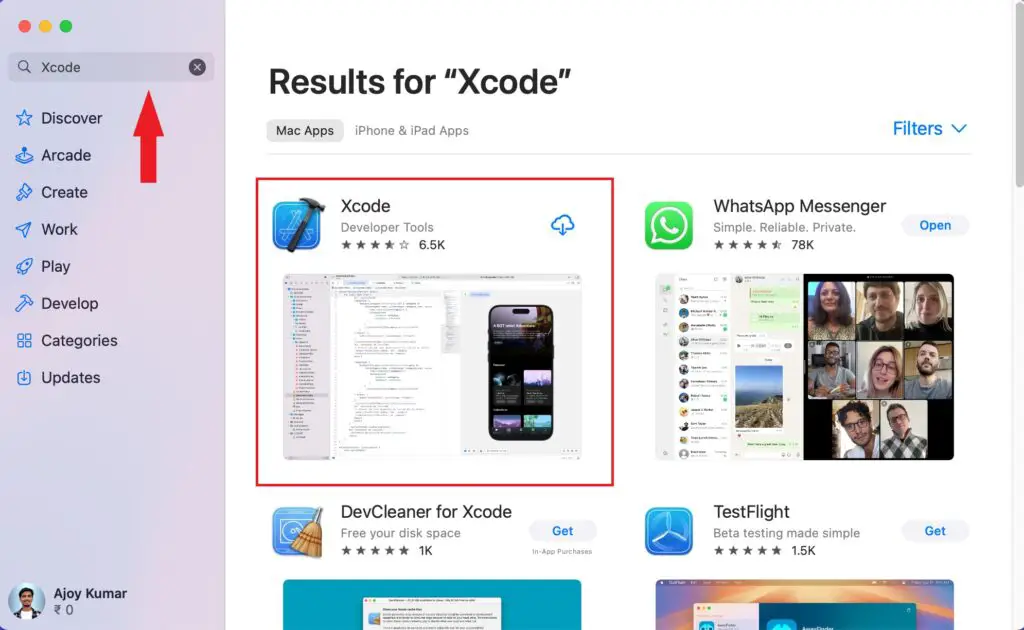
6. Click the Get button.
7. Next, click Install and wait for the installation process to complete. Depending on your internet speed, this may take some time.
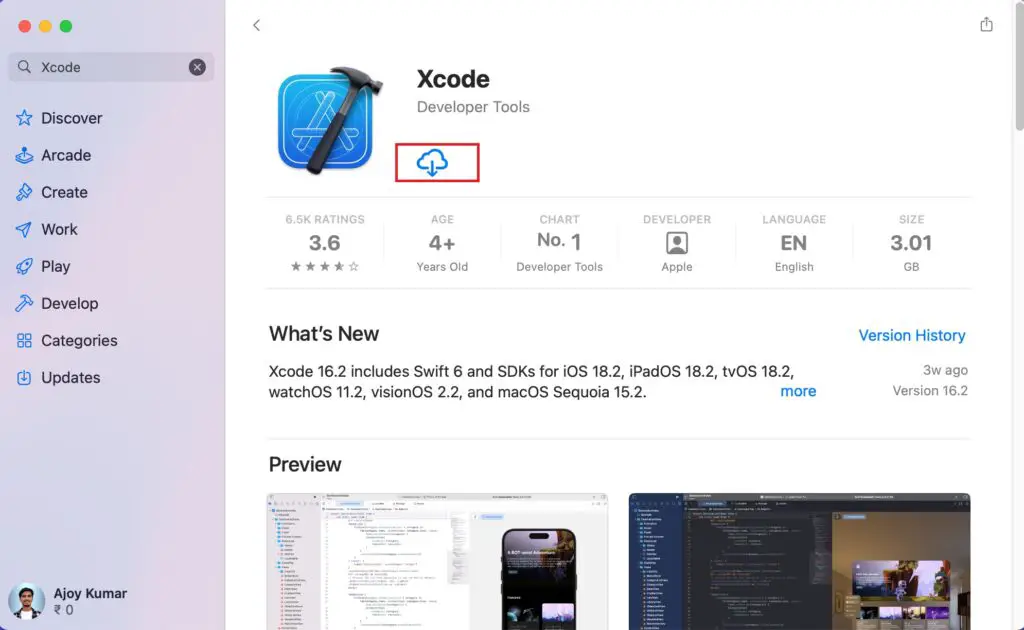
That’s it! You have successfully installed the latest version of Xcode on your Mac device.
Once the installation is complete, you can open Xcode in two ways: either by directly clicking the Open button in the App Store or by launching it from Launchpad.
To launch Xcode from Launchpad, click the Launchpad icon in your Dock, look for Xcode in the grid of applications, and click on it to open.
How to Set Up Xcode on Mac
When you open Xcode for the first time on your Mac, you need to set up Xcode and install all the required platform support components. Only then can you use Xcode to develop applications for Apple devices.
Here’s how you can set up Xcode on Mac:
1. Open Xcode.
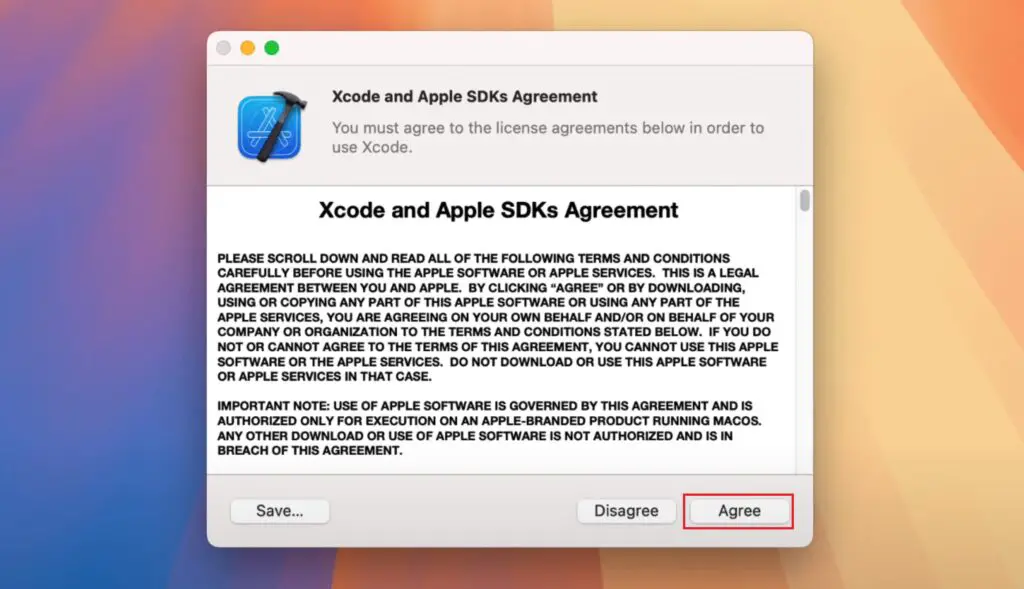
2. You will be asked to accept the license agreement. Click the Agree button and enter your system password when prompted.
3. You’ll then be presented with a list of components to install. If you’re only planning to develop macOS applications, simply select the macOS development option. For iOS, iPadOS, watchOS, or tvOS development, choose the respective options.
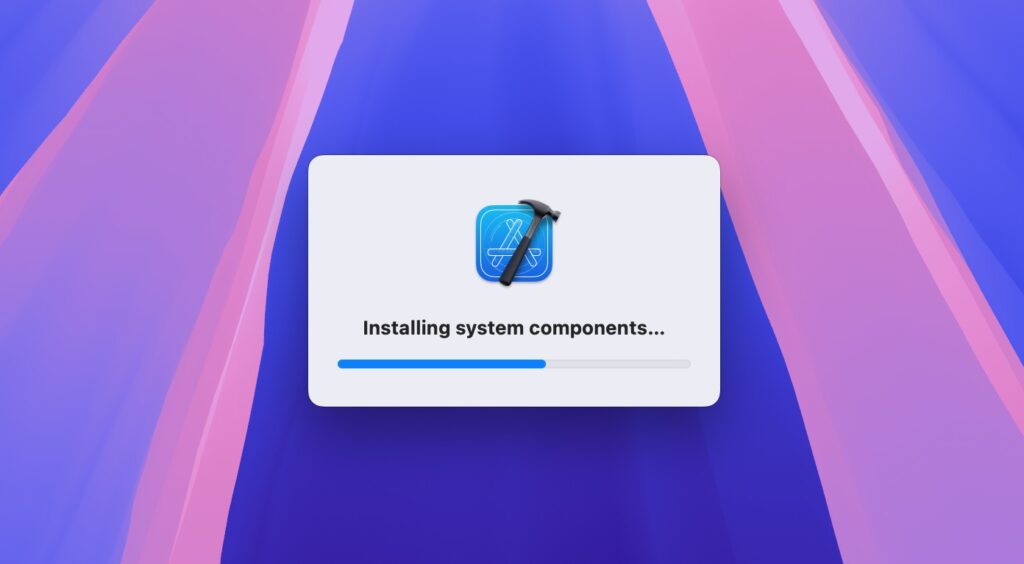
4. Click Download and Install and wait for the process to finish.
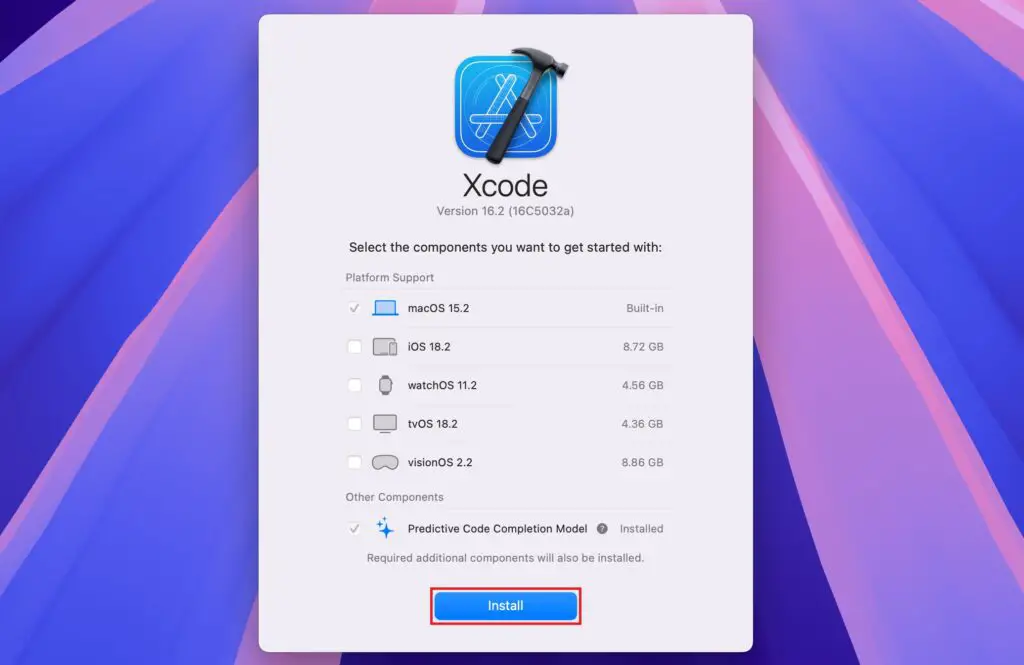
5. After the components have been installed, click the Relaunch button.
6. Xcode will open, and you can now click Continue to start your first project.
7. To create your first project, click the Create a new project option.
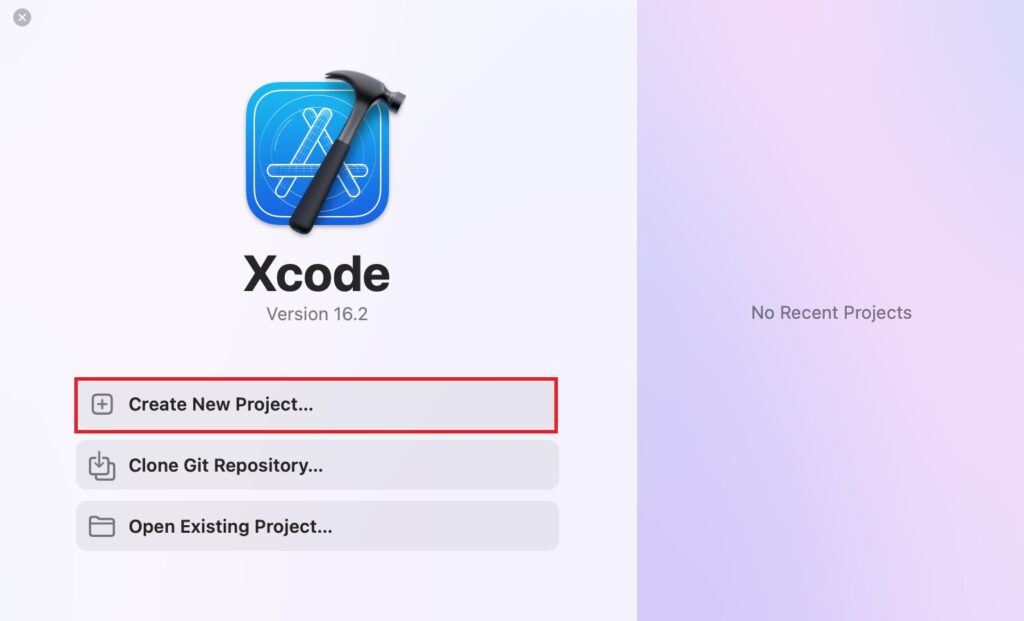
Ready to Create Your First Project
That’s it! You’ve successfully installed Xcode on your Mac, and you’re all set to create your very first app. Whether you’re working on something for macOS, iOS, iPadOS, watchOS, or tvOS, Xcode has everything you need to bring your ideas to life. With its intuitive code editor, visual interface designer, and powerful debugging tools, it’s easier than ever to develop, test, and refine your apps.
As you dive into your development journey, take some time to explore all that Xcode has to offer. Whether you’re starting with a simple app or aiming to build something more complex, Xcode is designed to fulfill all your requirements. And remember, Apple’s official documentation, online tutorials, and developer communities are fantastic resources to help you learn, stay up-to-date, and connect with others in the developer world.
